DON’T THROW AWAY BRUSH PENS! The video above shows my quick ink refill process for my favorite inking tool! Refilling is particularly handy when you have a lot of loose ink around. If you’re committed to the ink life like me, Higgens offers a QUART size bottle so if you’re committed ink like me then it’s worth investing in that to last you ages. Here’s the listing on Blick.
EDIT: I actually switched to Dr. Ph. Martin’s BLACK STAR matte waterproof india ink and I like the finish of it better.

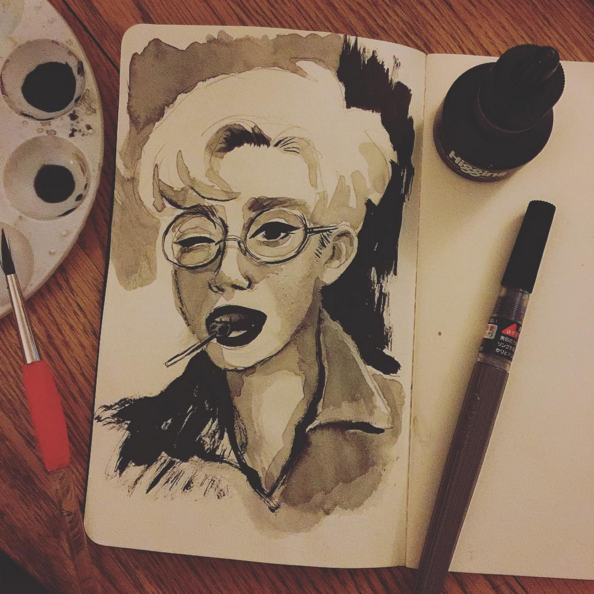
I love my WATERPROOF Pentel brush pens and I do actually adore the ink that came with my brushes, so if you’ve never tried a brush pen I recommend the WATERPROOF brush pen with the GREY ink bladder body. NOTE: if you get the black bladder body those pens are water-based and will re-activate and bleed if you add watercolor on top of them! Here’s a link to the WATERPROOF brushpens.
This process also works for the color ink brush pens, make sure the ink you replace with a color ink with a close match to what you want before adding, but the process should be the same. Let me know if you have any questions about brush pens, I LOVE talking about them and showing them to folks, they are my favorite way of inking and I’ve been using them for about 2 years now.